I got a great little book for Christmas called
Growing Up Sew Liberated. I highly recommend it if you have any children in your life that you want to sew for! I loved the first project I made as did the boys. Remember the
play tent I made early in the new year?
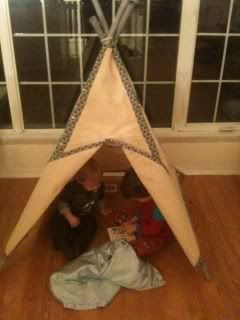 |
| This tent has logged a lot of playtime since the picture was taken! |
My next project from the book is Little Amigo, a Waldorf style doll. Baby Boy loves babies, so I thought he might like to have a baby of his own. Every time he saw the picture in the book he'd squeal, "Baby Dolly!!". So I started researching sources for fabric, tubing and stuffing. Ordering from a few different places helped cut my costs considerably!
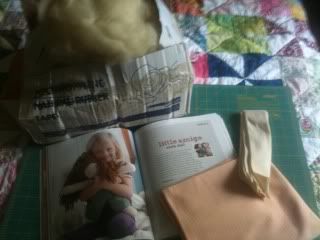 |
| All my supplies - Ready to go! |
All my supplies arrived in good time, so I set to work, feeling a bit like a fish out of water, but enthusiastic about my new endeavor! I ended up confused by about step two. That wool stuffing refused to become a ball of any sort let alone a firm one to form the core of the head. Frustrated, I began searching the Internet for guidance on head making. I finally got to a fabulous tutorial on the
Moonchild Dolls site. After reading through Berrie's tutorial it suddenly all clicked. Head making began in earnest!
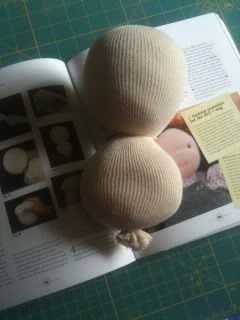 |
| We have a head! |
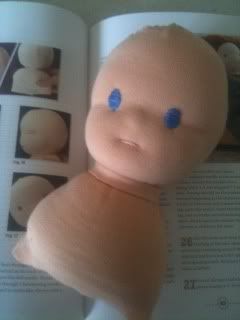
Several attempts later I had a head that I was happy with. (We won't discuss how many attempts embroidering the mouth took. Let's just say it's not as easy as it's single solitary stitch looks! Gah!)
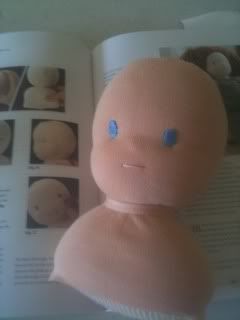 |
| And a face! |
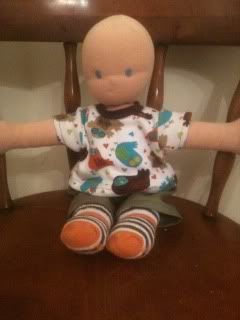
Once the head was done the rest went pretty smoothly. Only a minor set back with some overstuffed linebacker-esque shoulders that was easily solved by unstuffing some, and Baby Dolly was done. I modified the clothes pattern from the book, and followed Sew Liberated's
tutorial for a braided cap for the hair. Baby Boy loves his Baby Dolly.
 |
| Almost done! |
 |
| Getting closer! |
.
 |
| Done!!!!! |
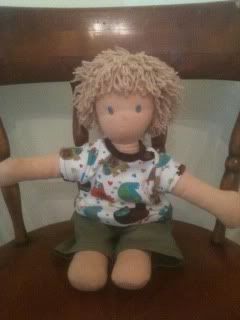
Before tackling hair for Baby Dolly though I started work on Little Toddler Man's doll, which he tells me is not a baby, but a big boy doll, just like him. It was a pretty smooth process. For his I followed a great set of
pictorial instructions for a crocheted cap. I was well pleased with myself given crochet generally confuses the heck out of me! Only problem is now I'm hooked (pardon the pun), and want to crochet all things...
 |
| Dark blue eyes for my dark blue-eyed boy |
 |
| So close to being done! |
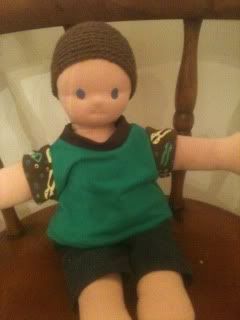 |
| Look! Crochet!!! |
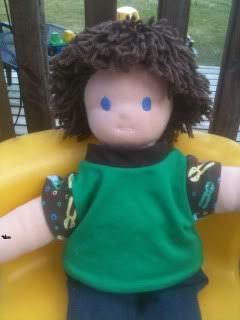 |
| Little Toddler Man's doll is done! |
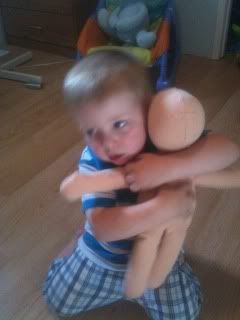
Anyways, to wrap up, this was possibly one of the most rewarding projects I've done in a long time. To see how the boys love them makes every bit of effort that much more worth it! I especially felt it the day they both had to have their dolls sit in chairs beside them at supper so they could pretend to give the dolls supper. Or when they each take a hand of one of the dolls and "walk" it from one room to the next. Or when Baby Boy saunters through the house giving Baby Dolly a ride on his shoulders. What a fun project it's been!
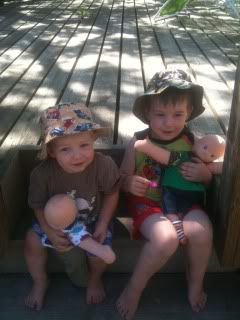 |
| Two little boys loving their bald dolls |
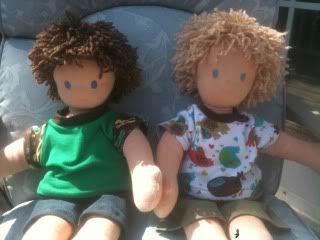 |
| Brother dolls done!! |


And as unique as they are! Well done mama!
ReplyDeleteThanks Stacy!
ReplyDelete