Friday, May 30, 2014

Super Heroes Need Pyjamas Too

I've been doing some sewing lately for the the little boys. Spring always means new pyjama time for them and this year it seemed especially important to get going on it when Little Man tried on his spring jammies and they were very much capris length instead of long pants.

I had made Baby Boy a couple pairs of bottoms from Fishsticks Design's Pajama Party pattern back in the winter, but hadn't got around to making tops for them. The one pair I had already decided to do the matching top, but the other pair I wasn't sure. I'd picked up the Richard Scary Busytown remnant during a buy 1 get 2 free sale before Christmas and knew there wasn't much left after the pants for any sort of top. I did entertain the notion of a tee in a matching colour, but a matching colour seemed to elusive in both fabric or store bought tee. After far too many weeks months of deliberation I finally settled on a simple collarless button down top (similar in style to the one Little Man is wearing in the photo) in the green that I used as contrast cuffs for the pants and used the remaining scraps of Busytown for the contrast on the top. I then had a problem choosing button colour, so went with one of each for a fun change from the usual, or as Baby Boy would say the "usable" way. (he has a few words he still says a bit muddled up).

Little Man's pjs presented a whole other issue in that a) my Fishstick's pattern only goes up to size five (and a tiny size five it seems to be or at least for my giant boys) and b) when I bought the fabric last fall, I bought 1 1/2 yards online figuring that would be plenty for him. Oooops! He's had a bit of a growth spurt in height obviously and I was hard pressed to squeeze a size six onto the fabric. Directional prints are my nemesis! Size six was not going to be nearly long enough either so hello wide cuffs! His pattern is a 1970's Simplicity pattern that has been my go to for the last twenty years or so for boys size 6-8.
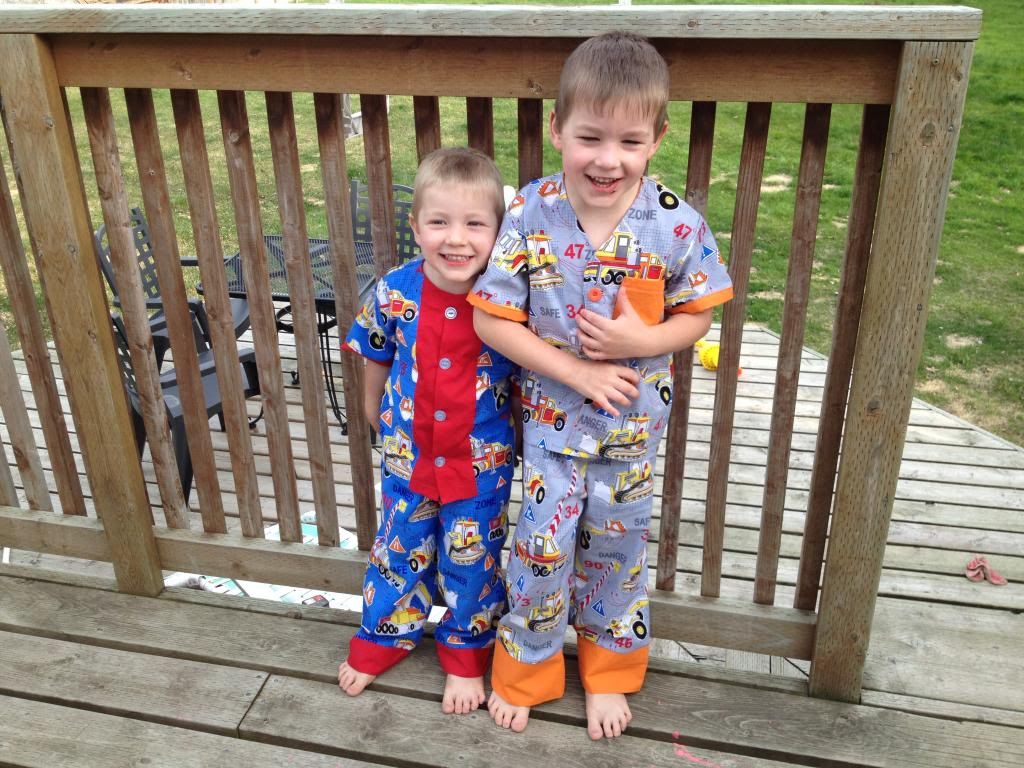
 photo AD27C25B-85D9-40F1-96BD-E8EB54CA7128.jpg
Stylin' in their new PJs

 photo FA1724D6-E807-42B0-81C1-B570582AE8D0.jpg
Tired and not feeling like posing -
the front is similar to Little Man's digger jammies
and has one red, one yellow and one blue button.

The boys were pretty darn pleased with having new jammies for spring, but little did they know they were in for a HUGE surprise in the pyjama department! My little men are super hero obsessed. Little Man can pretty much tell you anything you want to know about any given Justice League member and then some. They both regularly, (as in 99% of the time), wear capes as a part of their normal day to day attire. Little Man often even wears his batman mask or sunglasses to preschool. Luckily he has understanding teachers that don't mind a pint sized superhero in their midst.

I had noticed on the calendar that preschool was going to be having "Super Hero Day" on the last
Wednesday in May, so I set to work. Plotting and planning all in secret. I had planned to make pyjamas that could be worn as costumes for both boys. I couldn't, after all, just make Little Man a set and leave out Baby Boy. Finding fabric proved to be challenging as it always seems to be when I have something specific in mind.  Baby Boy's red and Little Man's dark green jersey came from a sale bin at Fabricland in the city, and the light green was procured via two 5xl muscle shirts from the men's section of Walmart as was the yellow (except they only had that in a 2xl - which luckily provided plenty of fabric for Baby Boy).

As an aside, I often look to the men's department when I'm in need of knit fabrics for the boys! You can get a whole lot of fabric in a 5xl! Next time you wander through a department store take a look. You never know what you'll find on the clearance table that could become your next sewing project! I recently snagged two long sleeved 5xl shirts for a grand total of $6!! Men's, by the way, are almost always quite a bit cheaper than ladies.

Anyways, back to super heroes! Covert operations went into full swing last week, the moment the boys went to bed for the night. By Tuesday night as I put the finishing touches on their costumes/pyjamas I was so excited I wasn't sure I'd be able to get to sleep. I think drawing out the symbols possibly took longer than actually sewing or stencilling them on, but it was well worth every minute I put into it. The boys were thrilled with the end result and so surprised! They wore them all day Wednesday and then I had to wash them so they could wear them to bed last night. I think their masks have come off only when they've been sleeping. I couldn't be happier!
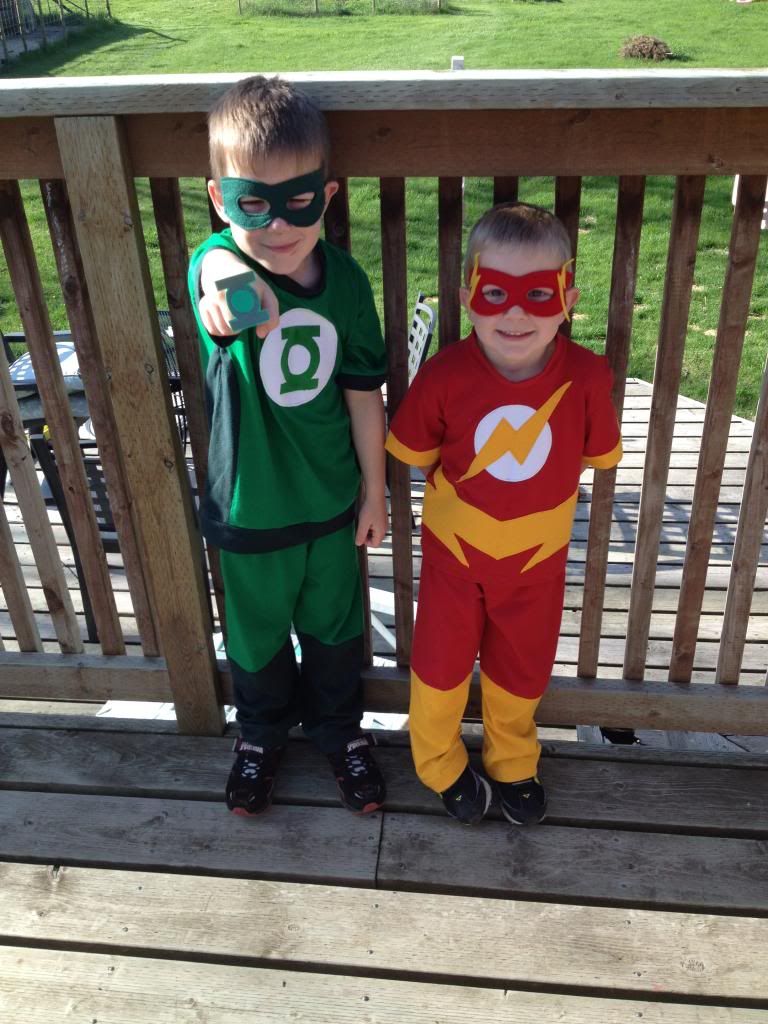
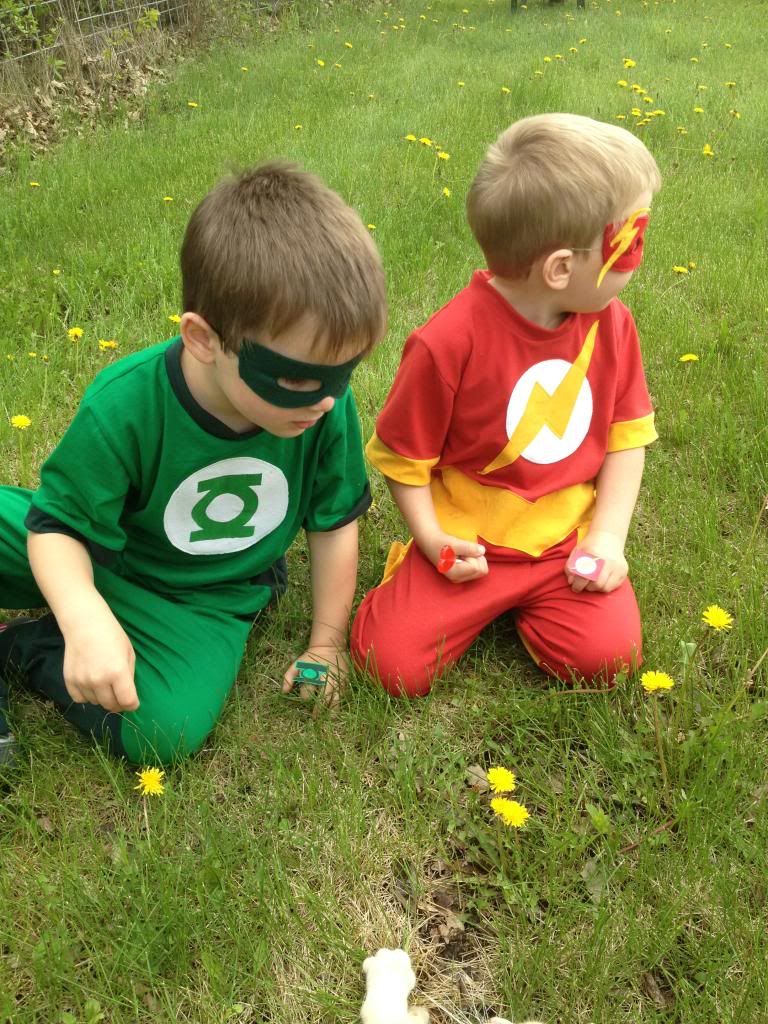
 photo E434FCDC-B693-4F7D-87FA-AA6F3B294532.jpg
Green Lantern and The Flash all set for "Super Hero Day"

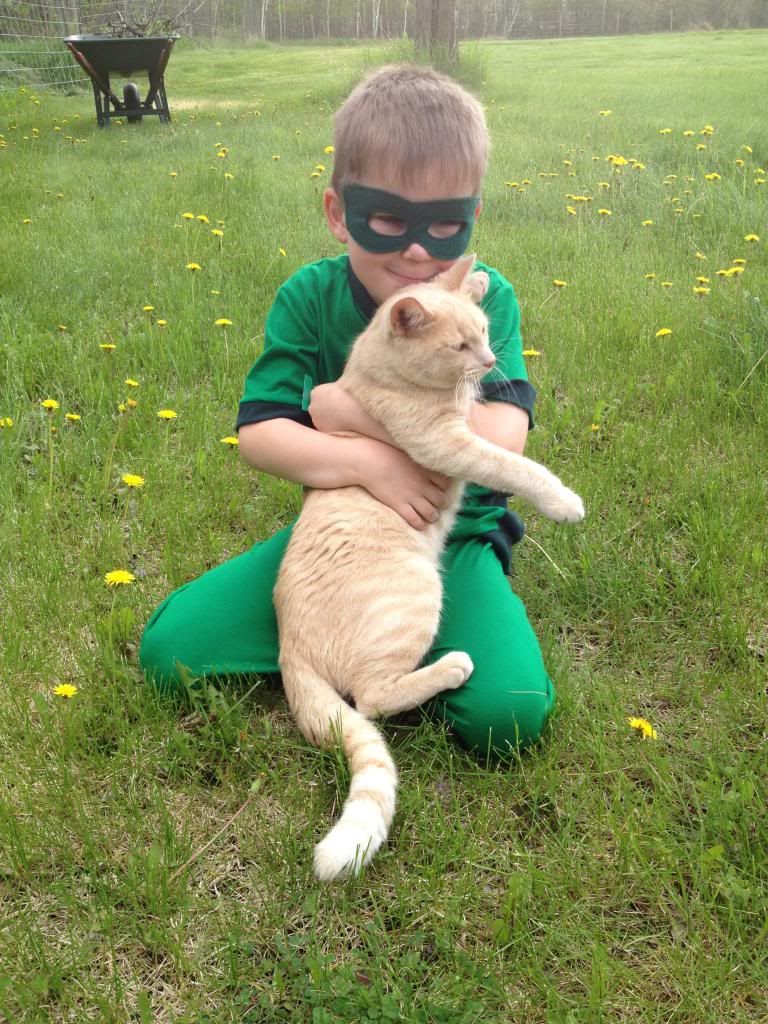
 photo 1B0EC038-A19D-43EA-8F24-A2D286A94CD2.jpg
Sometimes a super hero just needs to a break from saving the world
and have a little cuddle with his kitten

 photo B9967696-E145-4290-A4DD-AFC2DD96BBC0.jpg
… or gather dandelions
(ha! I just noticed the furry little kitten paw at the bottom of the photo)

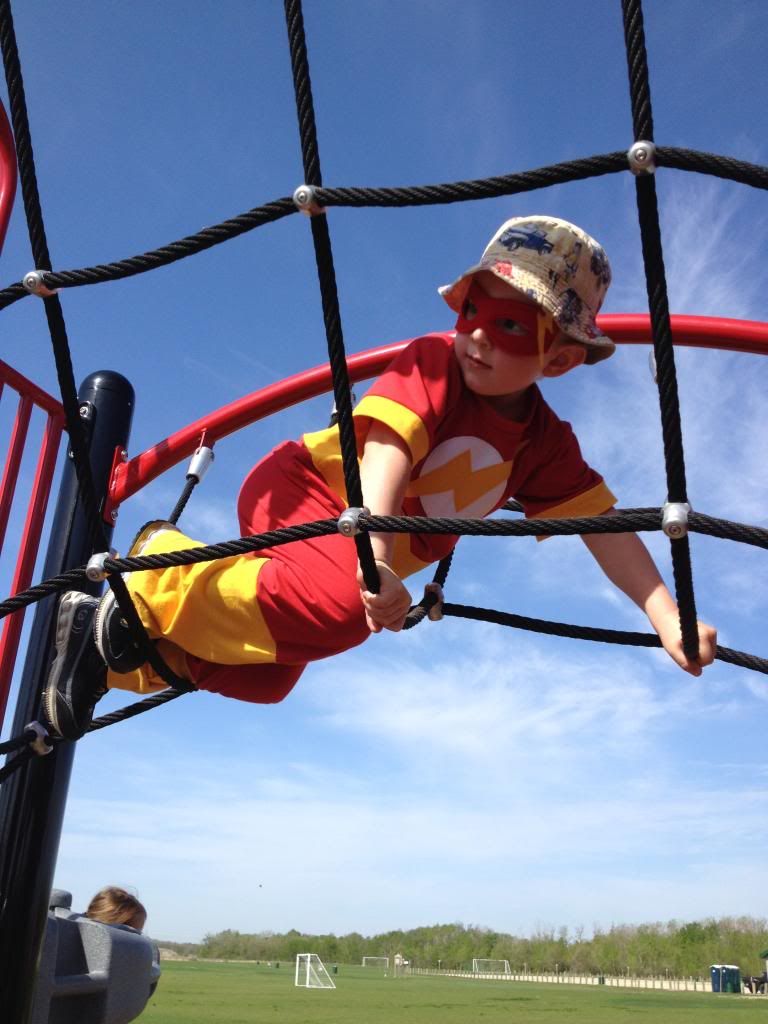
 photo FA2243E7-1963-4728-8C50-E5961057CFB2.jpg
… or play at the park

I probably need to sew them a few more pairs each to have them set for the hot summer nights, but for now these will do while I take a break and do a bit of sewing for myself. I have a few Sis Boom patterns in the works at the moment and also want to get a few tees and skirts made for myself.


Friday, May 09, 2014

Some New Bags!

As you probably have realized I'm a bit of a fanatic when it comes to making bags. I have an entire corner of my closet full. Silly thing is, most of the time I use the same one for months on end. It doesn't actually even occur to me, usually, to switch bags. Crazy.

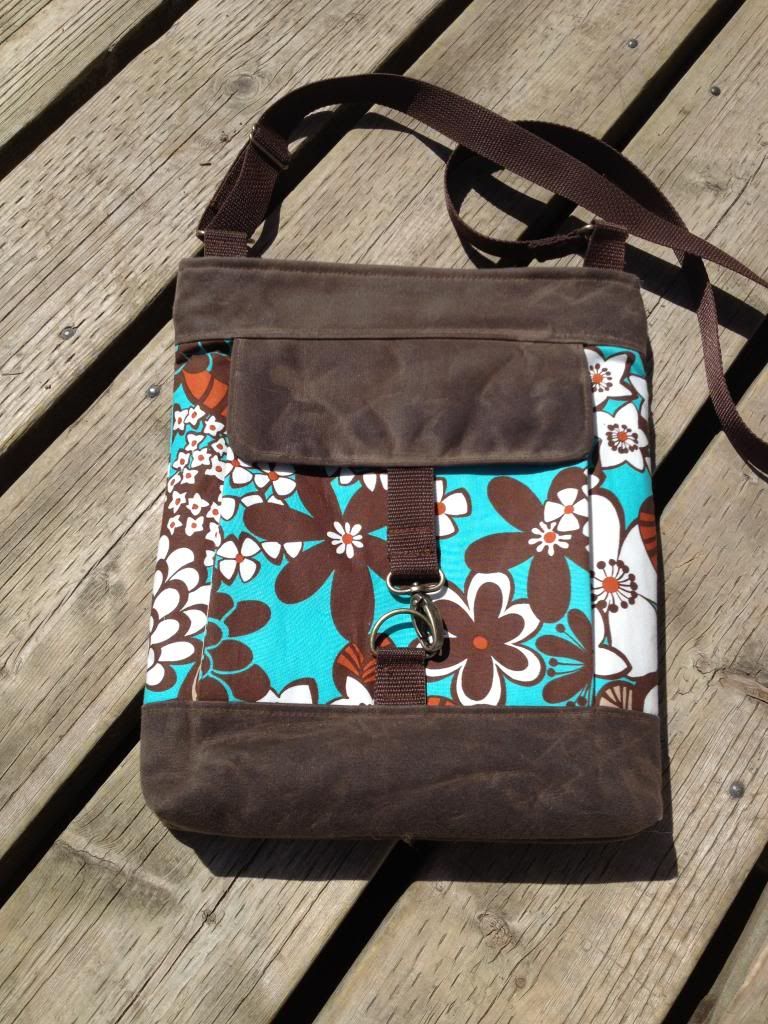
So today's first bag is the one I mentioned in my last posting. I've just finished it up and while I love the concept and the pattern is really well written, I feel kind of "meh" about the whole thing. The pattern is Betz White's Metro Hipster Bag.  It's a great cross-body bag that has a roomy "bellows" pocket on the front and a padded pocket on the inside that fits an iPad. The outside base, pocket flap and top trim as well as the zipper panel is made using waxed canvas.

I'd never used waxed canvas before, but was intrigued and quite excited to give it a try. Sadly, my machine did not share my enthusiasm and refused to sew nicely on it. The thing with waxed canvas is you really need to be committed to what you are sewing because if you have to stitch rip, those rogue stitches will haunt you forever by way of the very visible holes they leave in the fabric. Of course I managed to make a billion mistakes on my bag, so I'll get to be annoyed with myself every time I use my bag from here on in.

I don't know exactly what my issue was. I swear it was though I've never sewn before I was that clueless. It's by no fault of the pattern. Betz, as always, is very thorough in her instructions and all the diagrams were very clear. I was just out to lunch on this one.

Hopefully I'll grow to like it more with time. I think it'll be a great "out and about" bag for me. I'll just have to learn to ignore the wonky top stitching and sort of mismatched side seam on the one side and the fact I hate the lining fabric I used (just a boring beige heavy cotton I had in my stash).


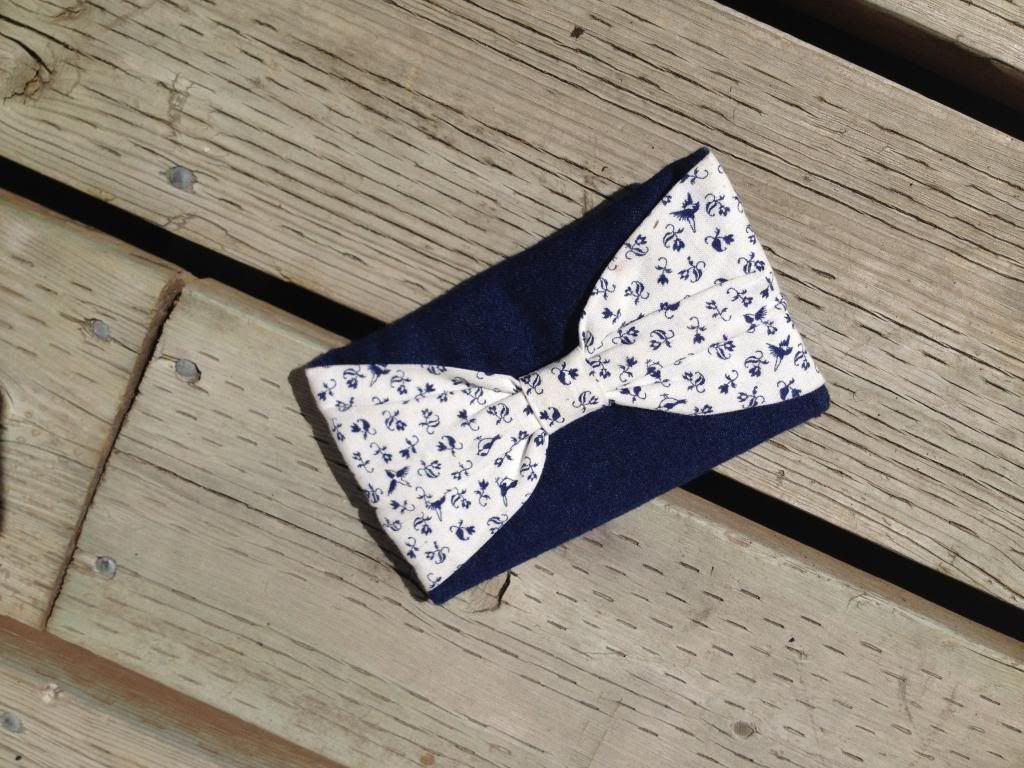
My other bag is one I did as a test for Anna of Charmed Liebling. I did my version of her Pink Peony Bag quite some time ago then actually forgot about it. (Told you I have a lot of bags!!) It was a nice surprise when she emailed to say that the pattern had been released on the Sew Mama Sew website! It's a great little clutch for spring with either a shoulder strap or a wristlet strap. Best thing is her free pattern is super easy and designed for a beginner sewist.


I made my version with a denim outer and quilt cotton lining. I love the little birds on the lining fabric. So much so that right after finishing up my bag for Anna I made myself a Bowie cel phone case using the same fabrics (which I use all the time making it more surprising that I forgot about my clutch in the corner of my closet!)


So I think between my Necessary Clutch Wallet that I made last week, my Metro Hipster of this week and my Pink Peony and Bowie of a few months ago I should pretty much be completely set for bags for spring...


Monday, May 05, 2014

Selfish Sewing Week

Last week was Selfish Sewing Week in blogland. It also happened to coincide perfectly with a sew along in a Facebook Group I'm in. It was fate.

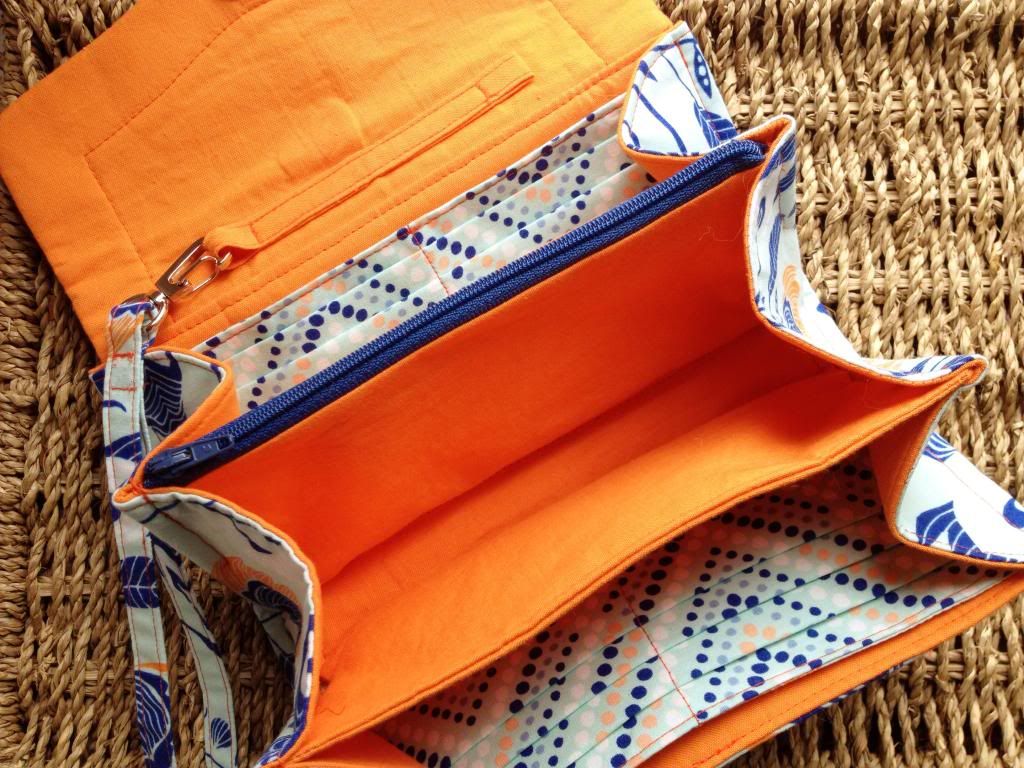
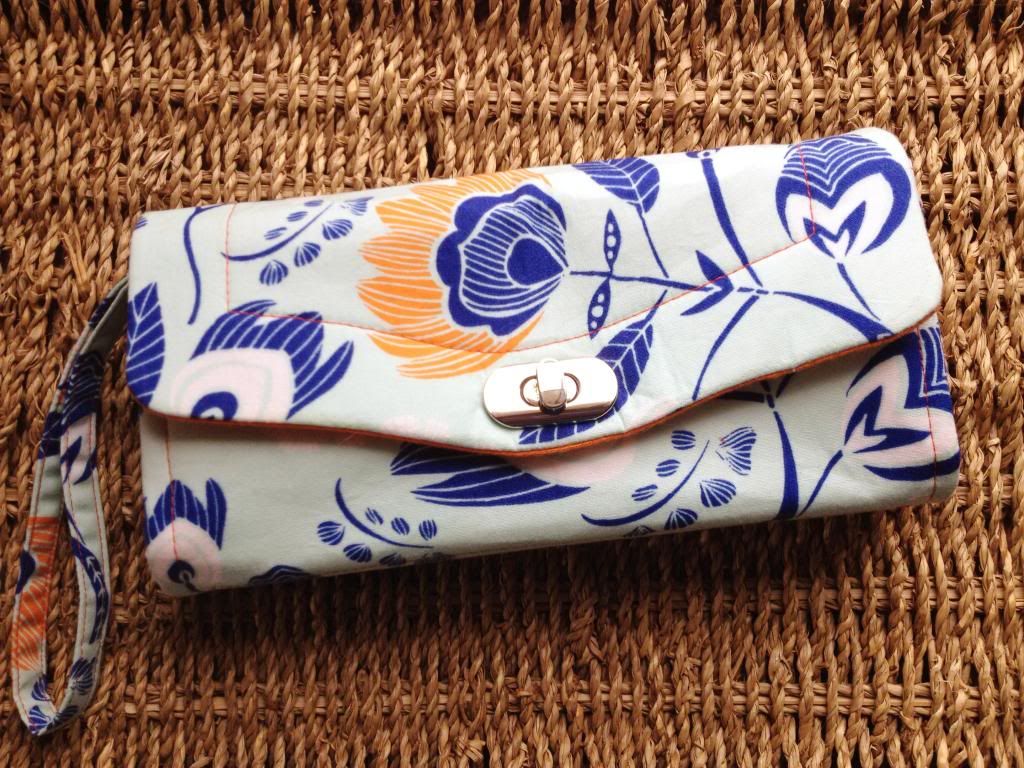
Remember when the dog ate my wallet ? I'd solved that particular mishap with a new wallet - The Necessary Clutch Wallet by Janelle of Emmaline Bags. I really love the wallet. It's everything I hoped for and more. It really is as roomy as Mary Poppins carpet bag. I can fit just about all but the kitchen sink in it. But as luck would have it, a couple months ago, it fell on hard times. Nothing so drastic as being eaten (thank goodness or the dog would have had her bags packed and looking for a new home), but rather an egg. A very large, very messy egg was accidentally broken all over my NCW. All over the truck too for that matter, but really I was more concerned with the wallet. I have my priorities after all. Anyways, I needed to wash my wallet, but felt it best that I make a new one first before popping the original in the machine. (I can justify almost anything, don't you think?)

So I started the search for fabric finally settling on some beauties - that just so happened to be on sale - from Bobbie Lou's Fabric Factory. I've ordered from Chelsea before and have always been really happy with her selection, prices and top notch customer service. I really do recommend her shop. And oh dear me! Someone hide my credit card. I went to make sure I had her shop URL correct for you and spied three fat quarters I think I can't possibly live without just on the first page alone. I may have a problem... Anyways, I'm getting off track. I chose Floras Oasis and Windmarks Mirage by Leah Duncan for Art Gallery Fabrics. I decided to pair them with a bright orange solid quilt cotton  that was in my stash and I adore the result!!!

I really did think that the purse flap was going to be the death of me! I took a good hour trying to get the outside edge of my flap trim absolutely perfect. And failed. Then decided to try it the alternate way so ripped it all out and redid it. And failed. Finally got it done and realized the orange trim that I thought would look so fantastic didn't. It just looked weird the way it was covering the flower. So I took it all apart again. Fused some stabilizer on the lining, some fleece on the other piece, sewed them together, turned, ironed and top stitched. Yay! Sweet, sweet success!

Then I started inserting the locking clasp. Why do these darn things torment me so? Seriously! The last time nearly drove me to drink and this time was no different. Between dropping it, glue side down (of course) on my fabric, having my little guys wandering off with bits and pieces, and me crawling around under my desk trying to locate roll away screws... Well. It finally got put in (a bit crooked, I think) . Then I took a break. I think maybe I panic when it comes to cutting a hole in my wallet, then I stress out and it all goes downhill from there. I must learn to be zen like. Ohmmmmmmmm.


I did add one extra modification, (besides the removal of the decorative strip on the front flap) to my wallet that I really wished I had done on my first one. Using Janelle's tutorial on her blog I made a wristlet strap. I'm so happy I took the few minutes extra to do that step. It makes the NCW even more practical when it can be used "hands free".  (I bought my locking clasp as well as a swivel snap hook from Emmaline Bags, which has become the only place I purchase bag making hardware from.)


Now that I have a pretty new wallet, I set my sights on a pretty new bag. I didn't get it finished in time for Selfish Sewing Week, but hopefully I'll get time to finish it over the next few days so I can let you know what I think of the pattern I am using for it!

Saturday, May 03, 2014

Preparation - Or That's My Story

I'm preparing for next winter. I've just cast off another pair of socks this week because all my hand knit socks seem to be wearing out at the same time.  Holes and thin spots abound lately.

Of course I am fully capable of darning my socks.  Although I hate doing it and have seriously considered taking all my holey socks to Mom and begging or bribing her to darn them for me. However, I'm sure she has her own knitting she'd rather be doing than fixing my tattered knitting and of course there's also that whole "teach a man to fish" theory. So I've sucked it up, followed some tutorials and YouTube videos and been doing it myself.

But I digress. I'm forgetting I just told you I have to knit new socks because I'm at risk of having cold toes if I don't prepare for winter ahead of time. I guess the fact that I can fix my socks sort of the negates the whole need thing doesn't it? Hmmmm.

Well then. Preparation. That's my story and I'm sticking to it! It's all about being prepared. It's nothing to do with the fact I'm completely and totally addicted to doing colour work knitting. Nope. Nothing at all...

I have to tell you about the latest pair, Water For The Elephants, by designer Rose Hiver, who found inspiration for her socks in the novel Water for the Elephants by Sara Gruen (which I read and thoroughly enjoyed!). This is my second pair of socks from Rose Hiver. My first pair were my Butterflies are Free that I knit earlier in the year. Rose's patterns are wonderful to work from. So clearly written and beautiful designs. She makes colour work seem easy!

I do a few modifications for fit for myself - using a 2.5 mm needle and 64 stitches for a cuff then increasing to the 72 stitches the pattern calls for and switching to 2.75 mm needles for the colour work. I then switch back down to a 2.5 mm for the heels and then back up to the 2.75 mm again for the foot until the end of the colour work. Once I'm back to a single colour on the toes I decrease down to 64 stitches again and use the 2.5 mm working until the decreases until I have 16 stitches left at which point I graft them and call it a day.

Its been a trial and error method of finding the right fit. When I knit my Butterflies are Free I did a gauge swatch, which I think safe to say I've never done for socks before. I was really happy I had as my socks would have never fit if I hadn't known to go up a needle size for the colour work. I quickly realized the toe was too wide and long as written so ripped back and changed on my first sock I had knit. It was worth it to go the extra mile and have a pair that fit perfectly!  I have been using the same yarn, Sisu, that Ram Wools Co-op in the city sells, for my colour work so that took all the guess work out of the second pair!

Unblocked and fresh off the needles!
Back to my Water For the Elephants. I wasn't sure I was sold on my colour choice. In fact a few times I did consider ripping them out and abandoning them until I could get a colour combo I liked better, but the colour has definitely grown on me and now that they are finished all misgivings have been forgotten. I absolutely LOVE these socks.

My "pretties"

I enjoyed knitting them (and Butterflies are Free) so much I am contemplating casting on Fireweeds, yet another gorgeous design from Rose, as we speak. You know, for winter preparation reasons of course...