Showing posts with label tutorial. Show all posts

Thursday, April 03, 2014

Snuggly and Soft : How to Make a Rag Quilt

Possibly one of the easiest methods of making a quilt is to make a rag quilt. It's perfect for a beginning quilt project. All it consists of is making "flannel sandwiches" and then stitching them together. The biggest part of the job is probably choosing your fabric then cutting it out.

Baby Boy's Quilt - Was he really that small?
I made a rag quilt for Baby Boy when he was a baby. I had taken part in a flannel swap with my Summer Mama's group on Ravelry - it was in amongst all of our charm square swaps that provided the fabric for my Friendship Quilt. Somewhere along the line we'd decided to deviate from our usual swap of 5" cotton squares to 8" flannel. I used the more masculine looking prints and had saved the more feminine ones for a future project. Needing a baby gift for a friend of (BF)G's, I decided a girly rag quilt would be just the thing. They are so snuggly and soft, not too mention very easy to wash. Plus they get softer and snugglier with each washing!

I sorted out all my remaining 8" squares as well as cut some more from remnants I had left in my stash, then hit the fabric store for the backing flannel. I was able to make use of cotton quilt batt I had left in my stash from my other quilts. (A rag quilt can really be a way to make use of the leftover bits!)

There's loads of tutorials and patterns out there for how to make a rag quilt, and I'm sure they're all pretty much the same, but I thought I'd give you my quick and easy take on making one.

FLANNEL RAG QUILT FOR BABY

Gather your materials together.  If you cut carefully you should be able to get five squares out of an 8" strip of flannel, but you will want to make sure you leave yourself extra length to straighten the edge. Do NOT pre-wash your flannel. (I know it seems an odd thing to not preshrink, especially flannel, but trust me on this one!) 25 8" squares will produce an approximately (depending on shrinkage) 36" square quilt once finished. 

Step One - Prepare your fabrics by cutting :

25 x 8" squares of assorted prints or solids flannel (pick whatever suits your fancy for the quilt top)
25 x 8" squares of either print or solid flannel (all of one fabric for backing)
25 x 6.5" squares of cotton quilt batt

Step Two - Make a flannel sandwich :

Take one backing square and lay it wrong side up, making sure that if you are using a directional print you have it facing the way you would like it.  Then place a cotton batt square in the middle of your backing square, finally put the top on your sandwich right side facing up.  Once you have made all 25 of your sandwiches you will be ready to start sewing.

Make a sandwich
You will simply sew an X across each of your 25 flannel sandwiches. Your blocks are now quilted and ready to go.

Sewing the X

What the quilted sandwiches should look like 

Step Three - Deciding on placement :

Once you are done sewing all 25 flannel sandwiches you are ready to determine your placement of each.  I find the easiest way to do this is to clear a space on your floor so you have room and just set the blocks out in rows of five. Then you can start playing with the arrangement. Move your squares about until you have it the way you like it. There is no right or wrong way to go here, just be mindful of your direction of your squares if you have a directional print at all. When you have your arrangement the way you'd like it, stack your blocks in piles with the first on the row being the top of the pile and the last being on the bottom. It also helps to take a photo of your arrangement in case your blocks get mixed up between arranging them and sewing them together. Ahem. Not that something like that would ever happen to me. Ahem.

Determining placement
(with the help of my trusty assistant, Fluffy)

Step Four - Assembly :

You will now sew each of the blocks together by placing them WRONG sides together and using a 1/2" seam allowance. To keep things nicely lined up you will want to use pins in this step. Flannel can shift and slip, especially when things get bulky. (A walking foot can be useful here if you have one). Sew them into strips of five blocks each. Once all your blocks are sewn you will have five strips that need to be attached.

Next you will sew your strips together to form the quilt. Place your top and second strips WRONG sides together matching seams and pinning carefully. Then sew the entire length of the strip using a 1/2" seam allowance. Next place your second and third strips WRONG sides together and stitch. Continue in this manner until all five strips have been sewn to the previous one. Your final part of this step is to stitch 1/2" from the edge around the entire perimeter of your quilt.  You're almost done now!


Stitching the strips of blocks together
Step Five - Finishing :

Here comes the time consuming part.  You are going to carefully snip all your seam allowances and the entire outside edge of the quilt. A pair of spring loaded scissors are really helpful with this and taking little breaks along the way will make life a lot easier and your hand a whole lot less sore.  Be very careful not to cut through any of your stitching when cutting the seam allowances.
Carefully snip seam allowances
This is what it will look like

Your final step in making your rag quilt is to wash and dry it. Do NOT simply throw it in your washing machine for this important first washing. You will regret it and it may result in the need for a repair man. It is going to produce an unbelievable amount of lint that your home machine likely cannot handle. 

You have two options here. Go to your local laundromat or if that isn't feasible pop the quilt in a zippered duvet cover and wash it in your machine. At least that way the lint is contained, although you will be picking lint out of the duvet cover from here to eternity. Better that then your washing machine! (Once your quilt has been washed and dried for the first time it will be perfectly fine to wash with your regular laundry without risk of doom.)

Trim any long threads you may have missed, shake out the quilt to dislodge any remaining lint and then sit back and admire your snuggly, soft quilt.  You're done. Don't those now fluffy seam allowances look great? Wasn't that easy? 

A close up of the now softly frayed seam allowances
Ready to gift!


Sunday, February 10, 2013

Have Wet Bag Will Travel

A wet bag is a great idea. When Baby Boy was in cloth diapers I kept intending to make some to have on hand, but I kept forgetting (no idea why, just did) so there were a few times when I was stuffing a wet diaper in my my bag hoping no nastiness would leak out during the rest of outing. Other times plastic bags sufficed, but I think I would have liked a wet bag. Now that both LTM and Baby Boy are potty trained I should still should have at least one or two for those rare accidents when we're out and about. It'd also be handy for wet swimsuits!

When I set about making a gift for a cloth diapering mama friend of mine's new baby I started with the obvious choice. I made her little munchkin one of my one size pocket diapers. I hummed and hawed as to what to send with it. Finally settling on a Snappy Wipe To Go - an awesome little PUL outer washcloth designed by my friend Christine. (These little cloths are great. Took me all of about 15 minutes the other morning to make one for the boys' lunch bag before we headed into the city for the day. Go check it out. I highly recommend it!)

Then I thought why not make it a whole "diaper change to go" package and include a wet bag. There's loads of tutorials online, but I decided to do my own version, mostly because I didn't feel like spending all my precious crafty time searching google for exactly what I wanted.

Photobucket Pictures, Images and Photos
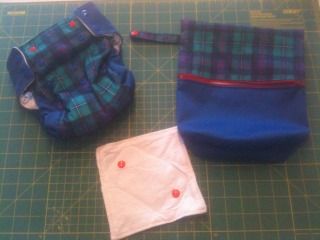
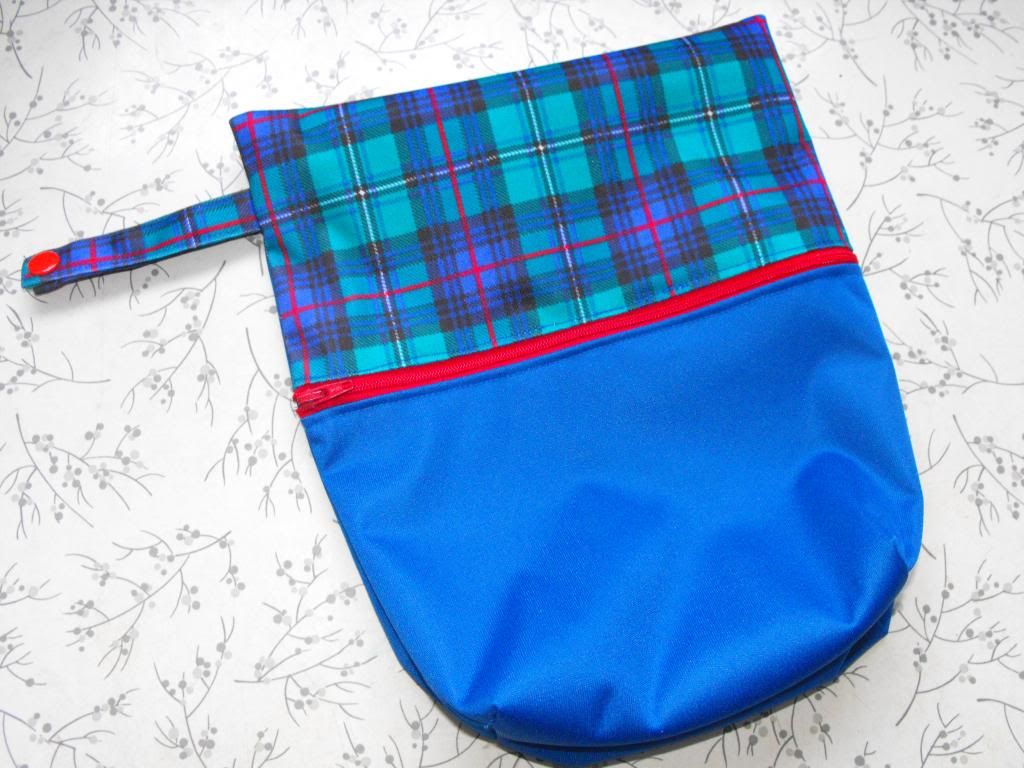
O/S Pocket Diaper, Snappy Wipe to Go (pardon it's wrinkles my iron died mid project) and wet bag

So here it is! Grab your supplies, and get sewing! It'll whip up in no time! I'll give you two versions for the hanging loop. The first one will have snaps, the second one will be a plain loop. I'll also show you two different bottoms for your bag! Hey! And guess what. Because I'm doing two variations after I'm done today's tutorial I'll finally have a wet bag for my very own! Wheee!

WET BAG SUPPLY LIST

Ballpoint needle
Polyester thread
Sewing machine
Polyresin snaps / snap pliers (optional)
Iron - low setting, no steam
1 zipper (at least 23" length - longer is ok, you can trim it down to fit)
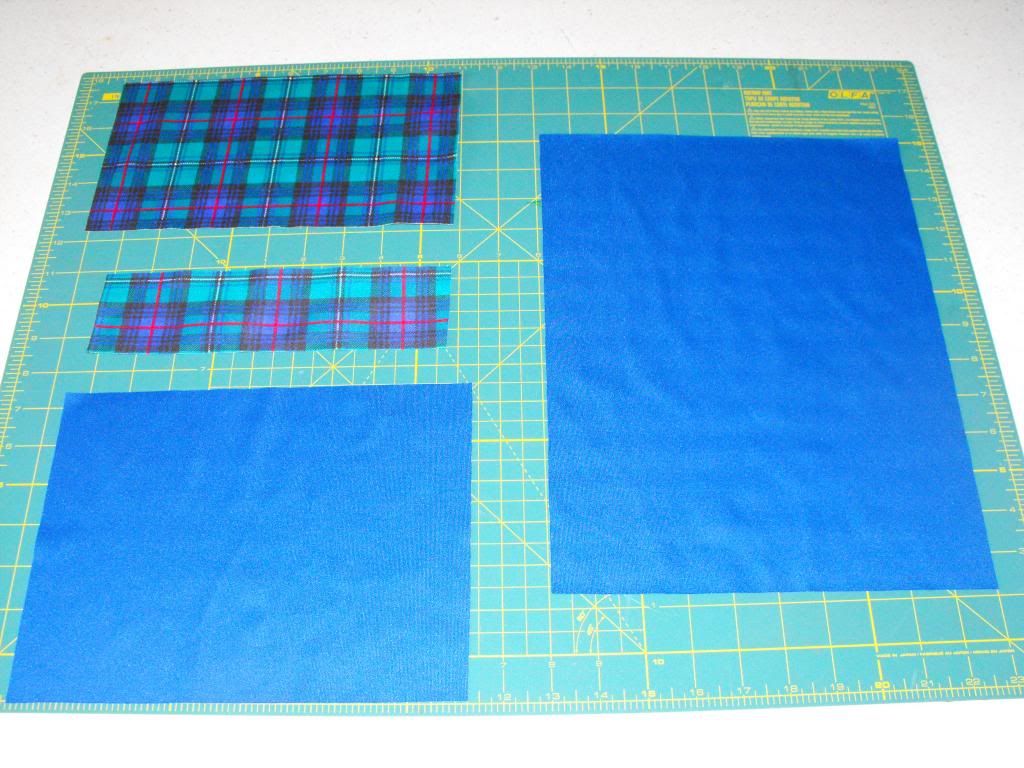
1 piece main colour PUL cut to measure 13 1/2" tall x 10" wide
1 piece main colour PUL cut to measure 7 1/2" tall x 10" wide
1 piece contrast PUL cut to measure 6 1/2" tall x 10" wide
2 pieces contrast PUL cut to measure 2 1/2" tall x 4 1/2" wide (version A snapped loop only)
1 piece contrast PUL cut to measure 2 1/2" tall x 8" wide (version B non-snapping loop only)

NOTES:

1) Just a quick note about dimensions of the front pieces. This is a great stash buster project so feel free to make your contrast piece narrower if you'd like to suit your fabric. (Remember, a narrower contrast would also change the placement of the zipper closer to the top of the bag.) Just simply adjust the bottom main portion to accommodate the smaller contrast. Your contrast and main pieces need to equal the height of your longer back piece. Have fun and get creative!

2) Pins and PUL are not friends. Pins will leave holes that can lead to leaking. If you feel you need to use pins go ahead, just keep them within the seam allowance!

3) Some PUL can be "sticky". If you find this to be a problem you can try a few tricks. Try dusting your PUL with baby powder, using a layer of tissue paper (just tear it off when you're finished), or use a Teflon foot if you have one (I've never done any of these although it was close with my elephant PUL. Fortunately the green wasn't sticky so I just flipped everything over and sewed with that side facing up and everything went fine!)

Photobucket Pictures, Images and Photos
You should have a collection of pieces that look something like this!

INSTRUCTIONS

Step 1 Version A - Preparing the Snap Loop

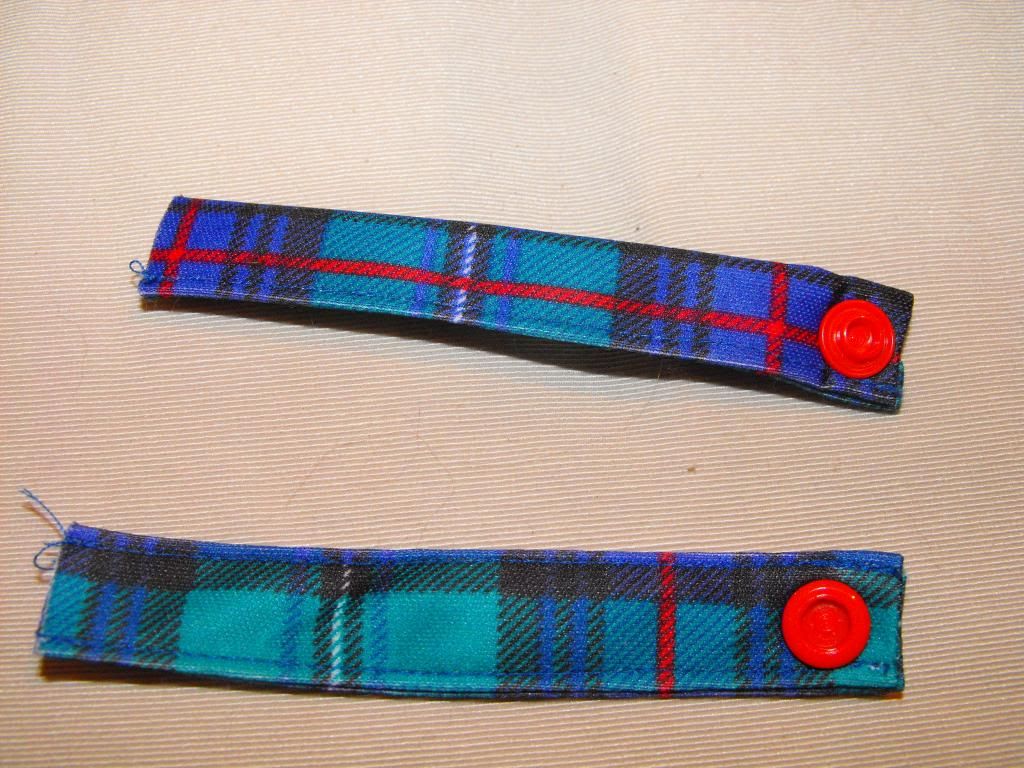
Fold one 2 1/2" end to the wrong side of fabric by 1/4" then fold 1/2" in down each long side of loop piece to meet in the centre. Next fold entire strip in half so that you have a long, narrow strip. Carefully press using an iron, on a low setting with no steam. Edge stitch down each long side. Repeat for second loop piece. Apply snaps to finished end according to manufacture's instructions so that the caps face the outside and the socket and snap face inside(the ends that have raw edges will be sewn into the side seam of your wet bag so no need to finish them). Snap the two strips together, align the raw edges and baste together if desired. Set aside.

Photobucket Pictures, Images and Photos
Preparing the snapped loop

Photobucket Pictures, Images and Photos
Two halves of snapped loop ready to go

Step 1 Version B - Preparing the Plain Loop

Fold 1/2" in down each long side of loop piece to meet in the centre. Next fold entire strip in half so that you have a long, narrow strip. Carefully press using an iron, on a low setting with no steam. Edge stitch down each long side. Fold strip in half so that raw edges on the narrow end line up. Baste if desired and set aside.
Photobucket Pictures, Images and Photos
Plain loop ready to go

Step 2 - Preparing the Bag Front

In this step you will insert the zipper. This is likely the trickiest part of making your wet bag!

If you need to cut down a larger zipper, simply stitch and backstitch across the zipper tape at the measurement you require, then trim excess leaving a slight surplus. (Note : this works for light nylon or plastic zippers. I wouldn't try with heavy plastic or metals zippers. You will break your needle. Trust me on this.)

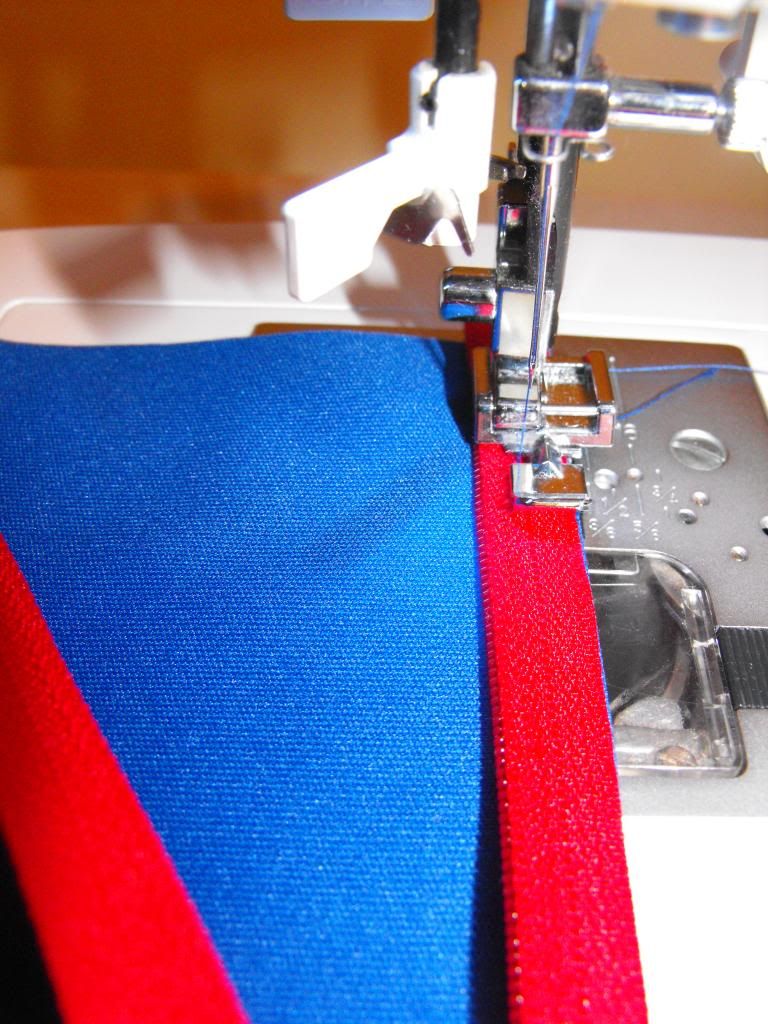
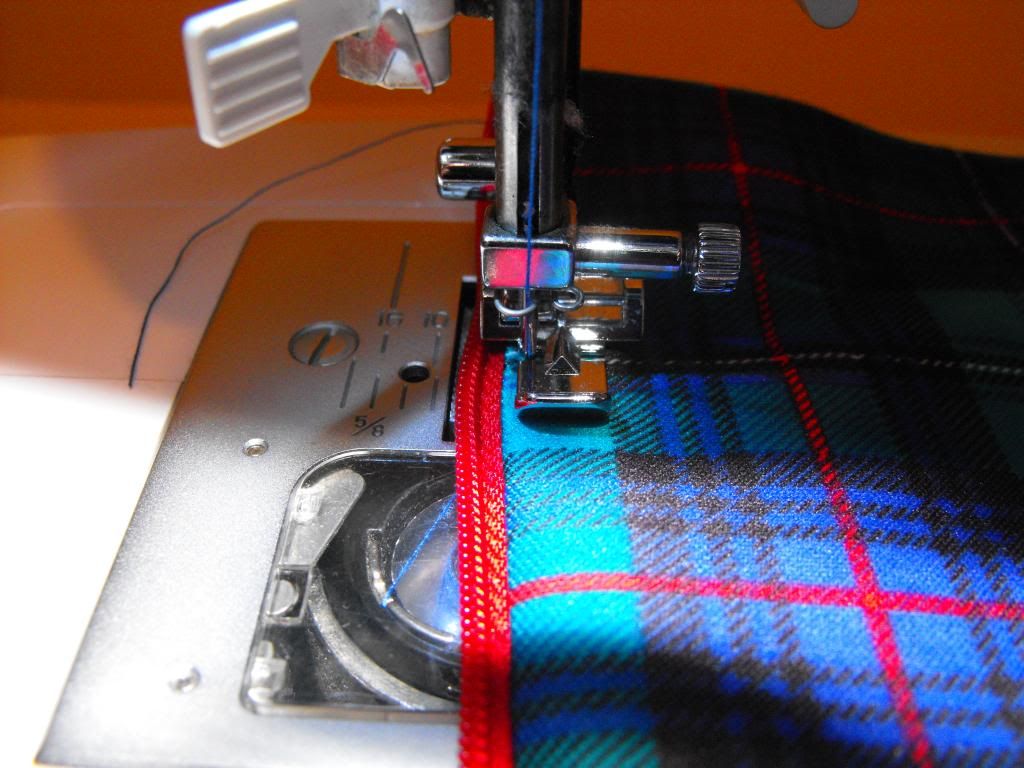
Place the right side of the zipper tape face down so that the edge of the tape aligns with the edge of the shorter main colour PUL piece. Stitch carefully close to the zipper teeth using a zipper foot on your machine. Flip zipper tape and seam allowance of PUL to the inside. Lightly press - remember to use a low setting and no steam if using your iron - or finger press, then topstitch. Repeat process for the contrast PUL piece. Baste down the sides of the PUL where the zipper ends. Your front piece is now complete. (*just another quick note - it really doesn't matter which side your zipper opens from. I inadvertently did one of each, but I think if you're planning on hanging your bag on a hook, the opening would be better on the opposite side from the loop like in the elephant bag)

Photobucket Pictures, Images and Photos
Attaching the zipper

Photobucket Pictures, Images and Photos
Edgestitch on the right side

Photobucket Pictures, Images and Photos
This is what it should look like

Next baste your prepared loop so that the raw edges align with the long edge of your newly finished front approximately 1 1/2" from top of contrast portion of front, right sides together, with the loop pointing towards the centre of the front piece. Baste.

Photobucket Pictures, Images and Photos
Basting the loop onto the front piece

Step 3 - Assembly of the Bag

Open zipper partially. (This is so you can turn your bag right side out - you do not want to forget this step. It will lead to frustration and the need for your stitch ripper)

Place prepared front and remaining PUL piece right sides together. Stitch around all four sides using a 1/2" seam allowance. Reach into the bag through the open zipper and flip your bag right side out. You're done! Wasn't that easy?

Photobucket Pictures, Images and Photos
Stitch around the entire outside of the bag but make sure you've left the zipper partially open before you start

Photobucket Pictures, Images and Photos
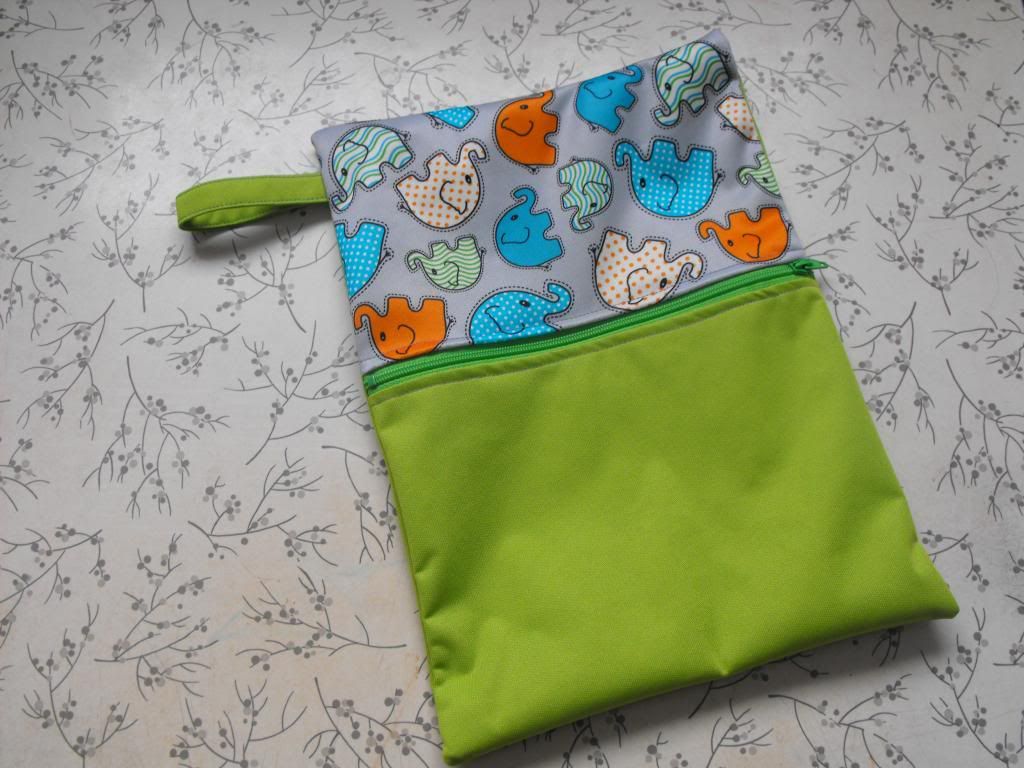
Handy dandy wet bag all finished

Variation

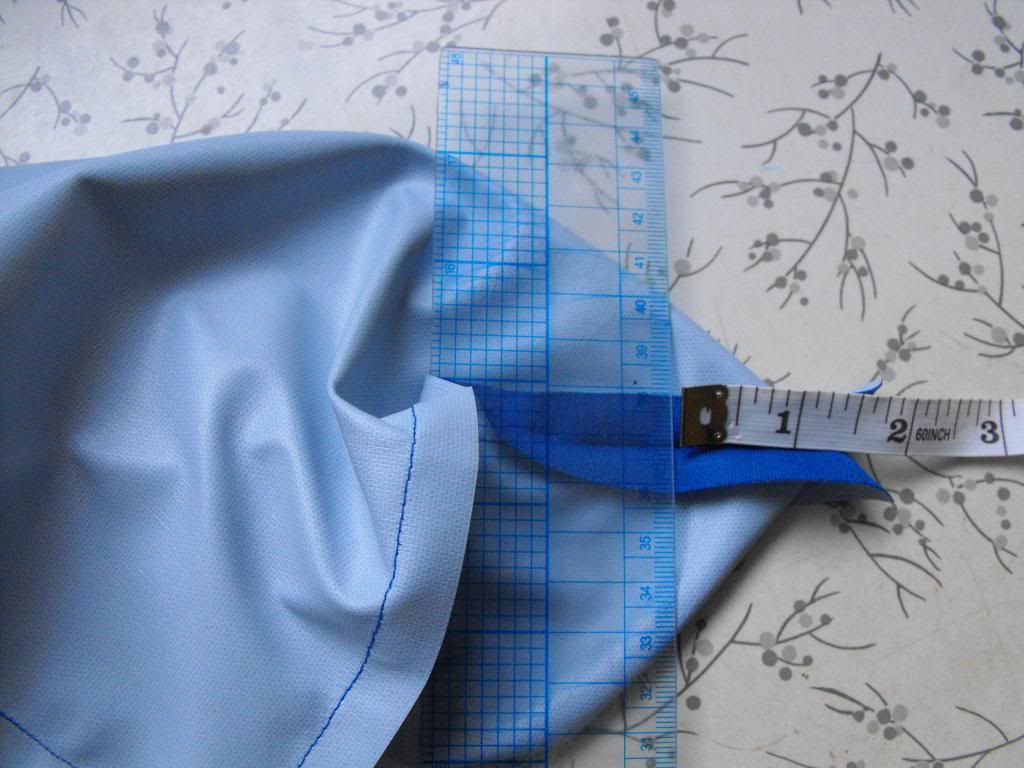
If you want to get fancy on the bottom of your bag let's do something with those corners to create a flat bottom! With your bag still inside out, pinch the corner together, lining up the seam allowances, to form a triangle. Measure 1 1/2" from the edge and draw a line across from side to side. Stitch along the line and trim excess. Repeat for other corner. Now turn your bag right side out. You're finished!

Photobucket Pictures, Images and Photos
Pinch the corners together and mark 1 1/2" from edge then draw a line from side to side forming a triangle

Photobucket Pictures, Images and Photos
Stitch along the line and trim excess

Photobucket Pictures, Images and Photos
Voila! Finished!

Now, quick! Go stash it in the diaper bag or your purse so that you don't get stuck at Kindermusik class gingerly stuffing a very wet, slightly dirty diaper into your purse while you hope nothing leaks onto your wallet, keys or gum. Or maybe those sorts of things only happen to me...


Thursday, October 18, 2012

Super Simple Baby Hat

I promised to put up the tutorial for the super simple baby hat I made last week during KCWC, so here it is!  If there's anything unclear or missing don't hesitate to let me know!!

Super Simple Knit Baby Hat

Supplies:

knit fabric - for this you can use remnants, old t-shirts, etc.  You will need approximately 18" wide by 8" tall for this project.  You will also need a contrast band cut 13 3/4" wide by 2 3/4" long with the stretch going across the width.

other requirements - ball point needle, measuring tape, paper, pencil, scissors, sewing machine, thread and water soluble fabric marker or tailor's chalk

The Hat!

Let's get started shall we?  We'll begin by making our pattern!

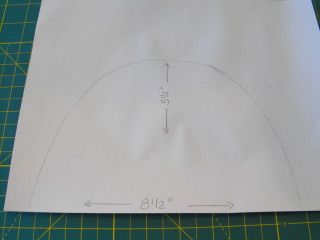
With an 8 1/2 x 11" sheet of paper, draw a dome shape that measures 8 1/2" wide and 5 1/2" tall at it's center point. When you are happy with the curve of your dome, cut out your pattern. (note: an easy tip for making your pattern would be to draw it out on freezer paper, then you can iron it directly on to your fabric, shiny side down and it will stay put while you cut it out, eliminating the need for pinning or weights.  Once you've cut out your fabric simply peel the freezer paper off. This is a great method when working with knits!)

Photobucket Pictures, Images and Photos
Step 1
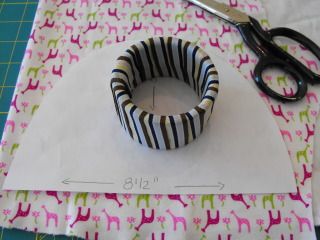
Next you'll cut out your fabric.  Lay your pattern piece on the knit fabric which you will have folded in half width wise.  Use your pattern weight (or if you must your pins.  I promise I won't judge!) and cut it out

Photobucket Pictures, Images and Photos
Step 2a
You will now have two peices of your dome shape and one band that you have already cut out.
Photobucket Pictures, Images and Photos
Step 2b
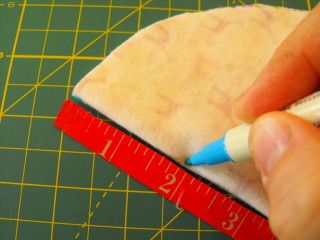
For the next step, fold your dome shapes in half as shown below.  Mark the center point and then mark 2" directly below the centre point on the wrong side of the fabric. Do this on both halves.
Photobucket Pictures, Images and Photos
Step 3
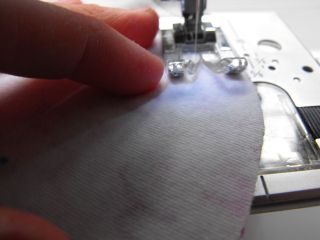
Now the fun begins!  Thread your machine, making sure you have a ball point needle in the machine, place your two dome shapes right sides together and begin by sewing around the outside edge of your dome using a 1/2" seam allowance and either a zig zag stitch or stretch stitch, backstitching at beginning and end. I also have successfully used a regular straight stitch - you might want to just lenghten your stitch length a smidge.
Photobucket Pictures, Images and Photos
Step 4
Once you have finished off the seam you will find your center mark that you made in step 3.  Pull the hat together and smooth it out so that it is flat with the 2" markings on either side (your seam that you have just sewn will run down the center front and back at this point) and mark 1/2 " down from center. 
Photobucket Pictures, Images and Photos
Step 5
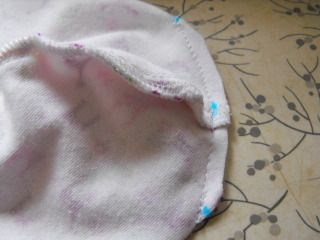
Stitch from edge to edge creating a dart along top centre following your markings. You can then trim the excess off leaving a 1/4" seam allowance.
Photobucket Pictures, Images and Photos
Step 6a

Photobucket Pictures, Images and Photos
Step 6b
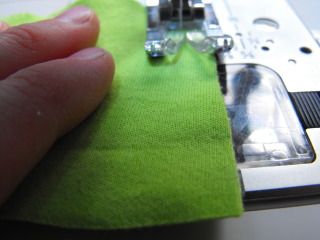
Next you will create the contrast band.  Fold your 13 3/4" x 2 3/4" strip in half lenghtwise, right sides together.  Stitch a seam down the short end of the your folded strip using a 1/4" seam allowance so that it forms a tube.
Photobucket Pictures, Images and Photos
Step 7
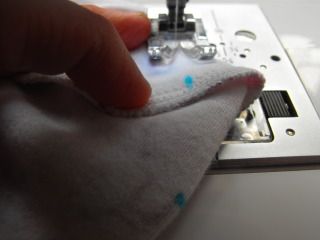
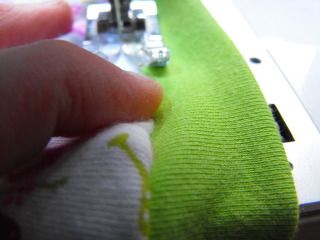
Next fold your tube in half from bottom to top, wrong sides together and press. Find the center back of your hat (to find center back, fold the hat in half and follow the line of your dart down to the bottom) and line up the center seam of your contrast band with the center back of the hat, raw edges and right sides together.  Pin at center back then find the center front of hat and band and pin those together.  Stitch using a 3/8" seam allowance, stretch the band to fit as you go.
Photobucket Pictures, Images and Photos
Step 8
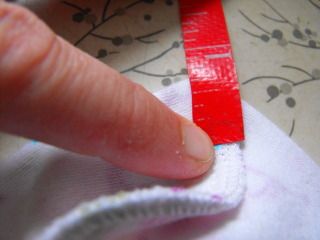
You're almost there!  For your final step, press the seam allowance of the contrast band up towards the hat, then top stitch approximately 1/8" inch from the seam on the hat to finish it off. Lightly press.
Photobucket Pictures, Images and Photos
Step 9
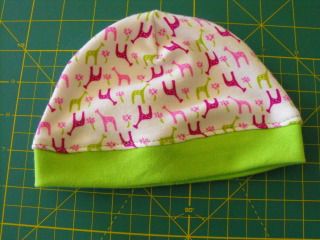
Your done!  Now go find a sweet little baby to put it on!  This hat is meant to fit approximately a 3 month old.  Although as we all know babies do come in all shapes and head sizes, so it can really go from newborn to probably six months depending on the individual.  (My giant babies would have probably been able to wear this size closer to newborn - by three months old Little Toddler Man was in 12 month clothes...)
Photobucket Pictures, Images and Photos
A Super Simple Baby Hat!

Thursday, October 11, 2012

Easy Peasy Pattern Weights

So, I was loading a year's worth of photos from my camera onto my laptop the other day when I came across a set of pictures I'd taken last winter thinking I would show you how to make some really easy pattern weights. Guess I forgot. Better late than never. Right?

I learned how to "properly" cut out fabric back in Fashion Design. We didn't pin our patterns to the fabric, but instead used weights. Not pretty ones mind you. They were unexciting metal. Pins can be a nasty little piece of work sometimes. They can leave holes in some fabrics, cause runs in others, they can also distort the fabric. With little ones under foot pins can pose a whole other realm of madness. (a certain three year old likes to sneak off with my pins and stick them into the upholstery. Not cool! Especially when you collapse into the armchair at the end of the evening to watch some mindless tv and you sit on a dozen or so pins - thankfully sharp side down, but still...) Yikes! Why set yourself up for mishap.

Don't get me wrong. There is definitely the odd occassion when you're going to want to pin something, but let's save that for when we're sewing shall we?

Pardon the poor quality of the photos and excuse any messy counters you may catch a glimpse of. There is precisely one place in this house where I can safely plug in my glue gun sort of out of reach of the "go go gadget arms" brothers and that just so happens to be right by the stove.

So here we go! I can guarantee the most difficult task of this whole endeavor will be picking out your hardware.

Photobucket Pictures, Images and Photos
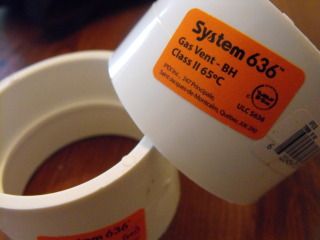
Go to the hardware store and grab yourself something that looks like this. Get a bunch. They're dirt cheap.

Photobucket Pictures, Images and Photos
Find a couple yards of fun ribbon and start winding!

Photobucket Pictures, Images and Photos
Flip the very end over about 1/4 - 3/8th of an inch (um... it would appear I forgot to turn the raw edge under on this one.) and squeeze a line of glue along the end

Photobucket Pictures, Images and Photos
Tuck that edge down on the inside nice and snug

Photobucket Pictures, Images and Photos
You're done! Wasn't that the easiest thing ever?!?

Now the next time you cut out a pattern you can leave your pins in your sewing box and weigh the pattern down instead! Happy sewing!