Friday, June 20, 2014

Progress!

I could have alternatively name this post "Demonstrating the Importance of Gauge" because do I ever have a photo to show you!

I've been making some good headway on my Myrna Cardi for the 2014 Outfit Along. I've knit enough now that I'm beyond the point I discovered my gauge disaster and started over, which always makes me feel good. Once I hit the point that I'm no longer slogging to get back to where I was I feel somewhat energized by a project and my enthusiasm is restored. The getting back to that point really feels a little like torture if you ask me - it's kind of painful even though the effort is worth it in the end!

Anyways so I've been motoring along. I'm now at the point of starting the waist shaping! I didn't actually rip anything out before I started re-knitting. Instead just grabbed a new skein of yarn and worked until it ran out, which took me to half a row short of where I had stopped on the first attempt. Before ripping out I thought I'd take my new sweater off the needles and try it on for fit. I'll admit to a healthy dose of paranoia that it would be a disaster again, but my fears were unfounded. Things are looking MUCH better now! I was curious about the comparison of the two so I lay the new one atop the old one and OH. MY. WORD.

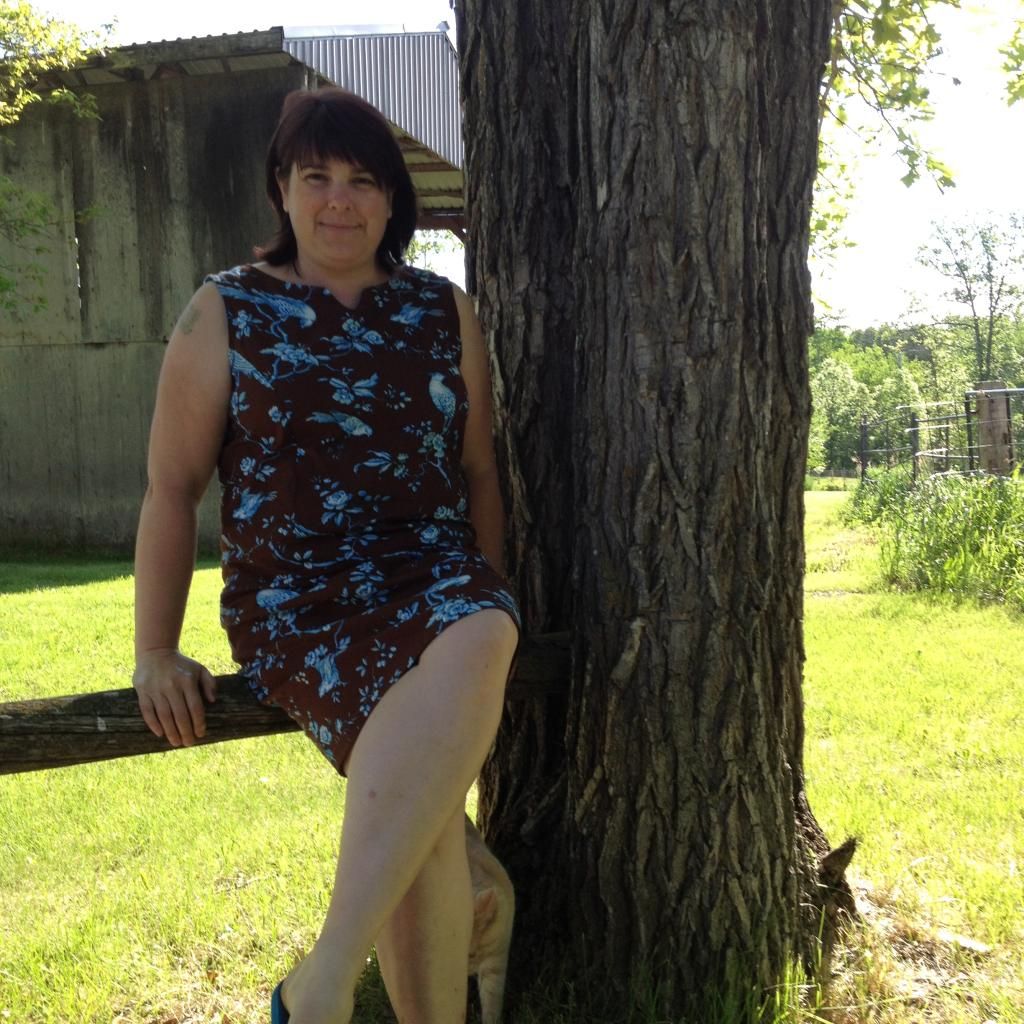
This, folks, is a perfect example of what can go wrong when gauge is not followed. Look at the size difference! The bottom cardi was knit on the 5mm needle size suggested in the pattern, that I somehow thought I had achieved gauge on - clearly I hadn't - and the top cardi is knit to specified gauge on just one needle size down at 4.5mm. Isn't it crazy what a difference it makes?

Evidence of the importance of gauge!

Now, I should say I've just slowly over the last few years come to understand how important gauge can be. I used to never bother with a swatch. I also used to knit a lot of strangely sized garments come to think of it... Go figure. But if this doesn't hammer it home for me, then obviously nothing would!

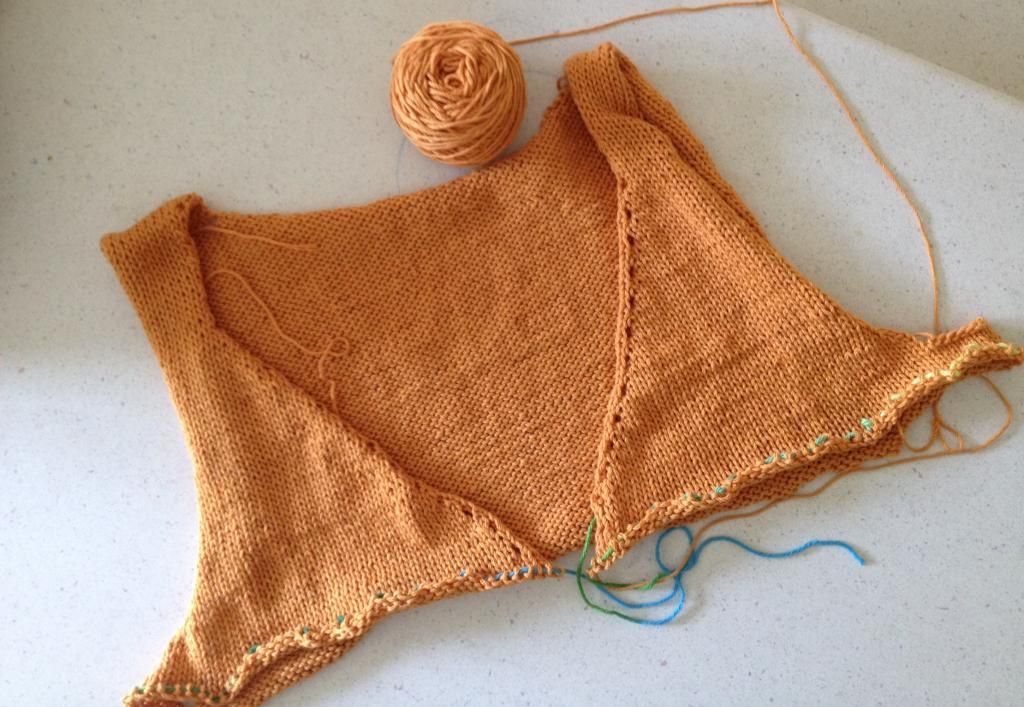
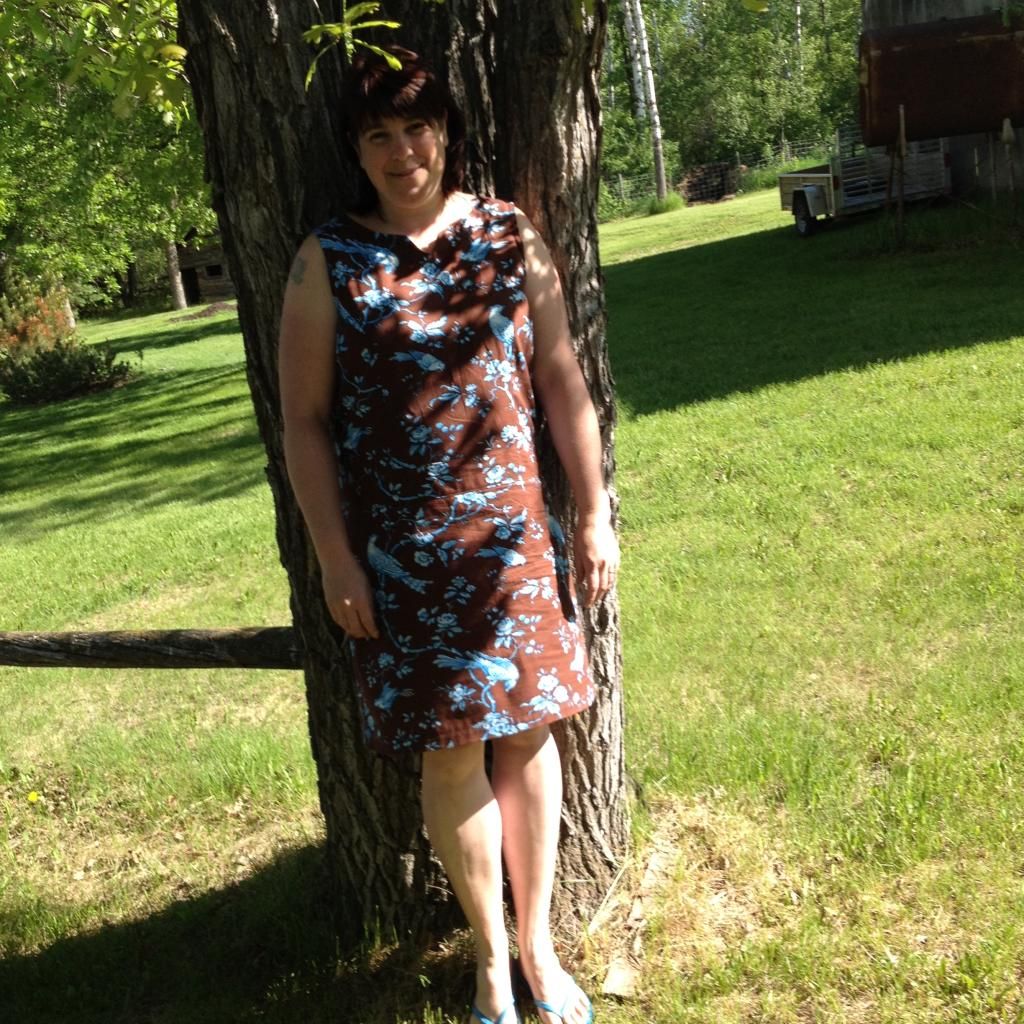
So things are progressing nicely with Myrna. Now! What about Jenny you ask. I'm happy to report that things are going well on that front too!

Jenny in progress!
Yesterday I took a bit of time to cut out my fabric and this morning, while the little guys were playing I took advantage of the peace and quiet and started sewing. I had the main part of the bodice done before the first squabble even broke out! I think the real Jenny has been easier to sew than the muslin Jenny was! It somehow just flows so much better when I'm not fussing around with the steps pretending I have a lining when I don't. (Now there is something I never would have imagined saying... The garment is easier to make with the lining. How's that for all kinds of crazy????)

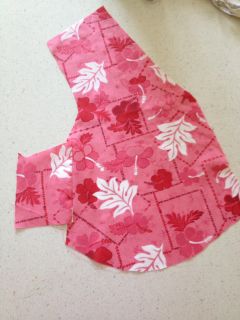
I'm hoping to get some time to finish Jenny over the next few days! I have sew many things I want to make this summer!!


Friday, June 13, 2014

If At First You Don't Succeed...

So, I haven't had a whole lot of success on the Outfit Along front this week.  It's getting me a bit frustrated but I'm determined to keep going.

My first frustration was my muslin. Thank goodness I decided to make a muslin for my Jenny dress. Lessons learned and all that from my Rebecca Shift. Had I not done a muslin I would have ended up with a totally unwearable dress. Or unwearable for me anyways!  I ended up with the bodice/waist seam hitting about a an inch and a half  too high. Yikes!!!! I'll let your imaginations run wild with where that empire seam landed. Not good. Not good at all.

So not to be daunted I fixed my pattern, following the same width, but cutting two lines below to increase the front length. Of course when I started sewing my second muslin I completely forgot about my pattern adjustments and ended up with a very puzzling looking front of my bodice when I lined my notches up and stitched.

Something just doesn't look right here...
I was so perplexed I posted a photo on the Scientific Seamstress Lab Group's Facebook page begging for help.  I followed what they told me to do (line up the bottoms), yet was still confused as to what had happened until one member suggested I had sewed it the wrong way. I ran back down to the sewing room to check and the lightbulb finally went off. No, I hadn't sewn it upside down or backwards - although at the rate I'm going lately that wouldn't have been out of the realm of possibilities. It was indeed very much the correct way as I discovered when I unfolded my pattern as though I hadn't been "frankenpatterning" sizes. Ah ha! Of course things were looking weird and the notches no longer lined up. D'oh! All I need to do is round out the armhole curve that was left a bit wonky from the shift and it'll be good.

Muslin done, seams where they are supposed to be, fit good. Yay!!!!!!! I think, judging by my muslin, that I will choose to do the lower neckline instead of the higher one and I am debating using the wider option waistband.  But at least I'm a step closer to my dress being started!

My Myrna was coming along fabulously.  Or so I thought.  It is a quick knit and within a few days I was ready to start the waist shaping.  Except I had a little voice in the back of my head telling me that it was looking more than a little bit large for more than a few rounds.  Finally I decided to heed that nagging voice and put my Myrna on scrap yarn.  OH MY WORD!!!!!  It's huge. Close to a 49" circumference at the bust. And long. Way too long. The armholes are close to 12".


I have no idea what happened. I did a gauge swatch. I swear I did. But in re-knitting a new gauge swatch there is no earthly way I got gauge on the first one using the 5mm needle I had been knitting with. Not a chance. So? What gives? Did I grab the wrong needle when I started actually knitting? Was I drunk when I measured my swatch (that seems a touch doubtful since I haven't had so much as a sip of wine since Christmas)? Did I forget how to look at a ruler?  Who knows! All I know is that I'm starting over from square one and hoping for the best.

So there you have it. Not much progress at all, but as they say, if at first you don't succeed, try, try again. Hopefully things go smoother from here on in! (please, please, please go better!!!!)

Saturday, June 07, 2014

Outfit Along 2014


I've got a new project on the go now and it fits right in with my summer wardrobe building plans! A few weeks ago one of my favourite designers, Andi Satterlund, of Untangling Knots announced an "Outfit Along" for the months of June and July. I was quite excited and knew as soon as I read her announcement that I was definitely getting in on the fun. The best part about this "along" is that Andi and her co-host Lauren of Lladybird want us to have an outfit we love when we are done so participants aren't restricted to the chosen patterns, which are Andi's latest cardi, Myrna and Simplicity 1803.

I absolutely love Myrna, but Simplicity patterns and I rarely get along fit wise so I'll be sewing a different dress for myself. So here's my plan:


My cardigan will be Andi Satterlund's Myrna and my dress will be Sis Boom's Jenny Dress. Here's the rest of my plan:


I'll be knitting Myrna using Berocco Weekend colour way 5972 Marigold and sewing Sis Boom's Jenny Dress using Soaring Free in Clear from the Safari Moon Collection by Frances Newcombe for Art Gallery Fabrics (which of course I bought online from my fave shop, Bobbie Lou's Fabric Factory - which, by the way, has a new home at http://bobbieloufabric.com!)

I hope you'll either join me in the Outfit Along and create your own new summer outfit or that'll you'll drop by to see my progress as I make mine!


Friday, June 06, 2014

Blue Birds of Happiness

Last summer when I was ordering fabric for my Jamie Dress, I found Jennifer Paganelli's West Indies collection and fell head over heels for Matilda in Cocoa. The birds were too pretty to pass up so I ordered 2 1/2 yds. I had no idea what I'd make with the large overall print. Initially I had thought perhaps another School House Tunic. Maybe a Torii Tunic? Or a skirt? I knew to really let the fabric shine I would require a pattern with simple, understated lines. Nothing fancy or finicky. I mulled over possibilities throughout the winter, unable to decide until suddenly, a few weeks ago, I remembered a pattern I had picked up on sale at some point last year. Sis Boom's Rebecca Shift. It fit the bill perfectly!

For a PDF pattern, you just can't beat the Sis Boom patterns.  I could go on and on about them. Seriously! First off I hate having to print off a gazillion pages only to find out that for my size half of them get cut away. The beauty with Sis Boom? You're given a table that tells you exactly what pages you need for your size. And with a pattern like Rebecca that you may want to "Frankenpattern" using different sizes she breaks down the pagination for each of the components. LOVE this feature!!!!!

And I may have grumbled, muttered, cursed on more than one occasion about my dislike of the pasting together and cutting of pattern pieces. But let me tell you, these are the stuff pattern putting together dreams are made of. It doesn't matter if preschoolers have "helped" by rearranging my pages from one end of the house to the other. I can easily tell which piece belongs where with the shaded sections that clearly not only tell me what they should be joined to but show exactly how much they should overlap each other. I can't even begin to describe how much quicker and easier this is than trying to match up tiny bulls eyes or little dots like some other PDFs utilize.  Anyways enough gushing about the pattern. I actually have gone on and on so it would seem.

So let's get down to the nitty gritty. It turns out I am sort of a weird combo of sizes. I should have "frankenpatterned" (she explains how), but I didn't. I should've made a muslin, but I didn't.  I should've, maybe once, in the sewing of the dress, glanced at the instructions and not gone off memory from when I had taken a brief look at them a few weeks ago, but I didn't.  What I did do was sew a perfectly lovely dress for someone definitely not my size or shape. Thank heavens it was on the too big side of not fitting instead of the too small.


So me and my trusty sidekick the seam ripper had an epic rendezvous. Princess seams taken in, armscye reduced, zipper removed, back seam taken in to the proper width (could've avoided that one if I'd bothered to read...), side seams of the skirt portion taken in, taken in again, - what the heck... where did the saddlebags come from??? - and taken in a final time. Done!


The dress is on the roomy side still, but it's a comfy roomy not a "who's dress did you borrow because it totally doesn't fit you" roomy. I can definitely live with it and it will be perfect for those hot humid days of summer when I just want something easy to pull on! Plus the blue birds? They just make me happy!